Replace your RV lock cylinder when the key gets stuck, the lock feels loose, the cylinder looks worn, or you no longer know who has a key. Each sign means worn parts inside, damage from weather, or security you are not sure about.
You do not have to guess when picking a replacement. First, measure a few basic sizes: door thickness, cutout size, and cam offset. With those numbers, you can match the right cylinder and avoid sending it back. A careful check takes only minutes and saves you trouble later. The process feels easy when you understand these simple measurements. These simple measurements give you the confidence to buy once and buy right.
Key Takeaways
Replace the RV lock cylinder if the key gets stuck, the lock feels loose, or you still have unknown keys.
Before you order, measure the door thickness, cutout, cam length, and backset.
Make sure the new cylinder fits your exact lock model.
Carefully put in the new cylinder, and check the cam moves before closing the door.
Pick a strong OEM-grade lock, like kinntoo, to handle road conditions.
When to Replace the RV Lock Cylinder
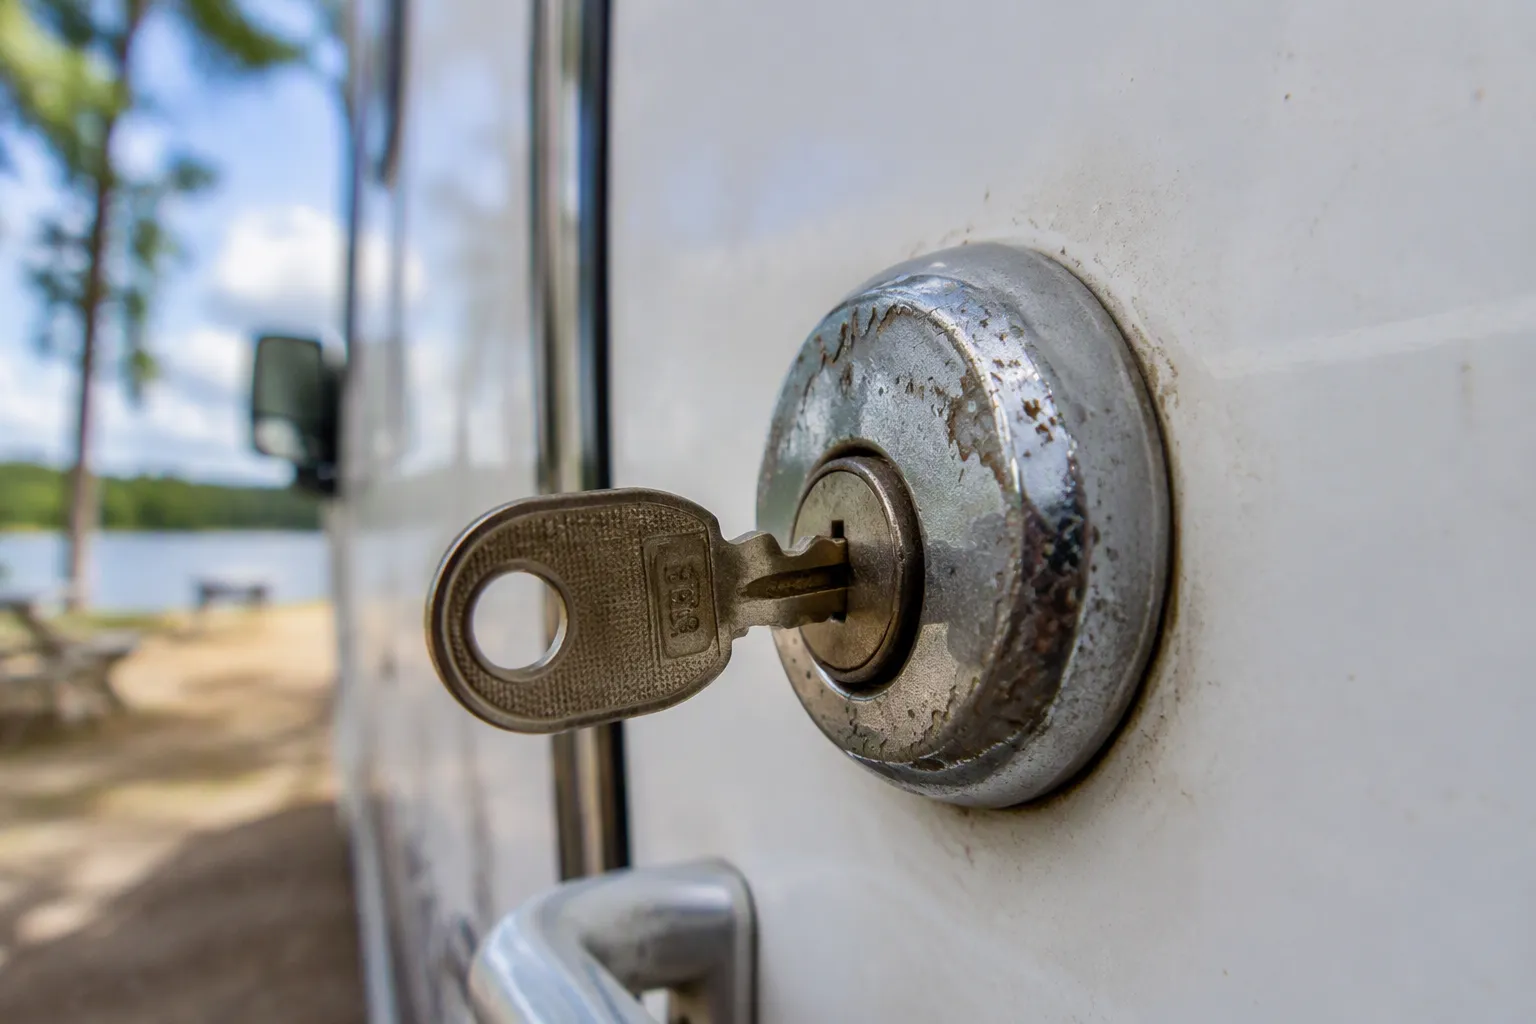
Your RV entry lock works harder than most locks in a home. It deals with weather, road vibration, and constant use. Those things wear it down. The lock cylinder may stick, feel loose, or show visible damage. Catching these signs early can prevent a broken key or a day when you cannot get in.
Entry systems face daily use and weather exposure, so they are one of the most often replaced parts on a motorhome. Latches stick from dirt buildup and corrosion, while lock cylinders fail from repeated use over time.
RV and trailer locks use corrosion-resistant materials and simpler parts. They still fail faster than home locks because vibration, road salt, and changing temperatures stress them all the time.
Warning Signs You Shouldn’t Ignore
The first clue comes from the key. A smooth turn means the inner pins move freely. A key that sticks or drags means dirt, rust, or worn parts. If you need to jiggle the key, the cylinder needs attention. A loose cylinder is another warning. Visible rust or white corrosion often points to corrosion underneath. Repeated key failures also point to worn pins.
Environmental factors speed up the damage. The table below shows common threats:
Environmental Factor | Effect on Lock Cylinder |
|---|---|
Dust, road grime, pollen, sand | Get into the cylinder and make pins stick |
Rain and humidity | Cause corrosion on inner parts |
Heavy wind, gravel, dirt roads | Push more dirt and debris inside |
Outdoor storage | Keeps the lock exposed to all the factors above |
Combined result | Key feels rough or hard to turn |
Corrosion makes moving parts stiff. Rain, humidity, washing, condensation, and storage all play a part. You may notice the lock feels worse after rain, the key turns roughly, or the handle sticks in humid weather. The latch might fail to spring back. Seeing rust or white corrosion is a clear sign. Severe corrosion may mean you need a full lock replacement.
Travel also moves the door out of place. The frame bends as you drive, and hinges loosen. Here is what happens:
Because the frame bends during travel and hinges get loose, RV doors shift.
Seals squeeze unevenly, so the door sits off-center.
The latch bolt no longer lines up with the striker plate.
The deadbolt gets pushed into the striker plate, which puts stress on the lock.
The key gets harder to turn, and the lock sticks worse after each trip.
Security Reasons to Swap the Cylinder
Wear is not the only reason to act. Security should also make you replace the lock. Buying a used RV often means you do not know the key history. You might have one key, while old copies are still out there. A stranger might still have access. Replacing the RV lock cylinder resets that baseline.
A used RV with an unknown key history leaves old keys out there.
RV locksmith services bring back access control by re-keying or replacing the entry-door cylinder.
The main entry door comes first because it controls secure entry.
Mixed or unknown keys for different compartments raise the risk.
Replacing the entry lock stops access from unknown old keys.
If you lose track of spare keys, the same idea applies. Swap the cylinder to regain control and end doubt. The process is simple. Matching the right size matters, and we will cover that next.
Measure Size and Compatibility Before You Buy
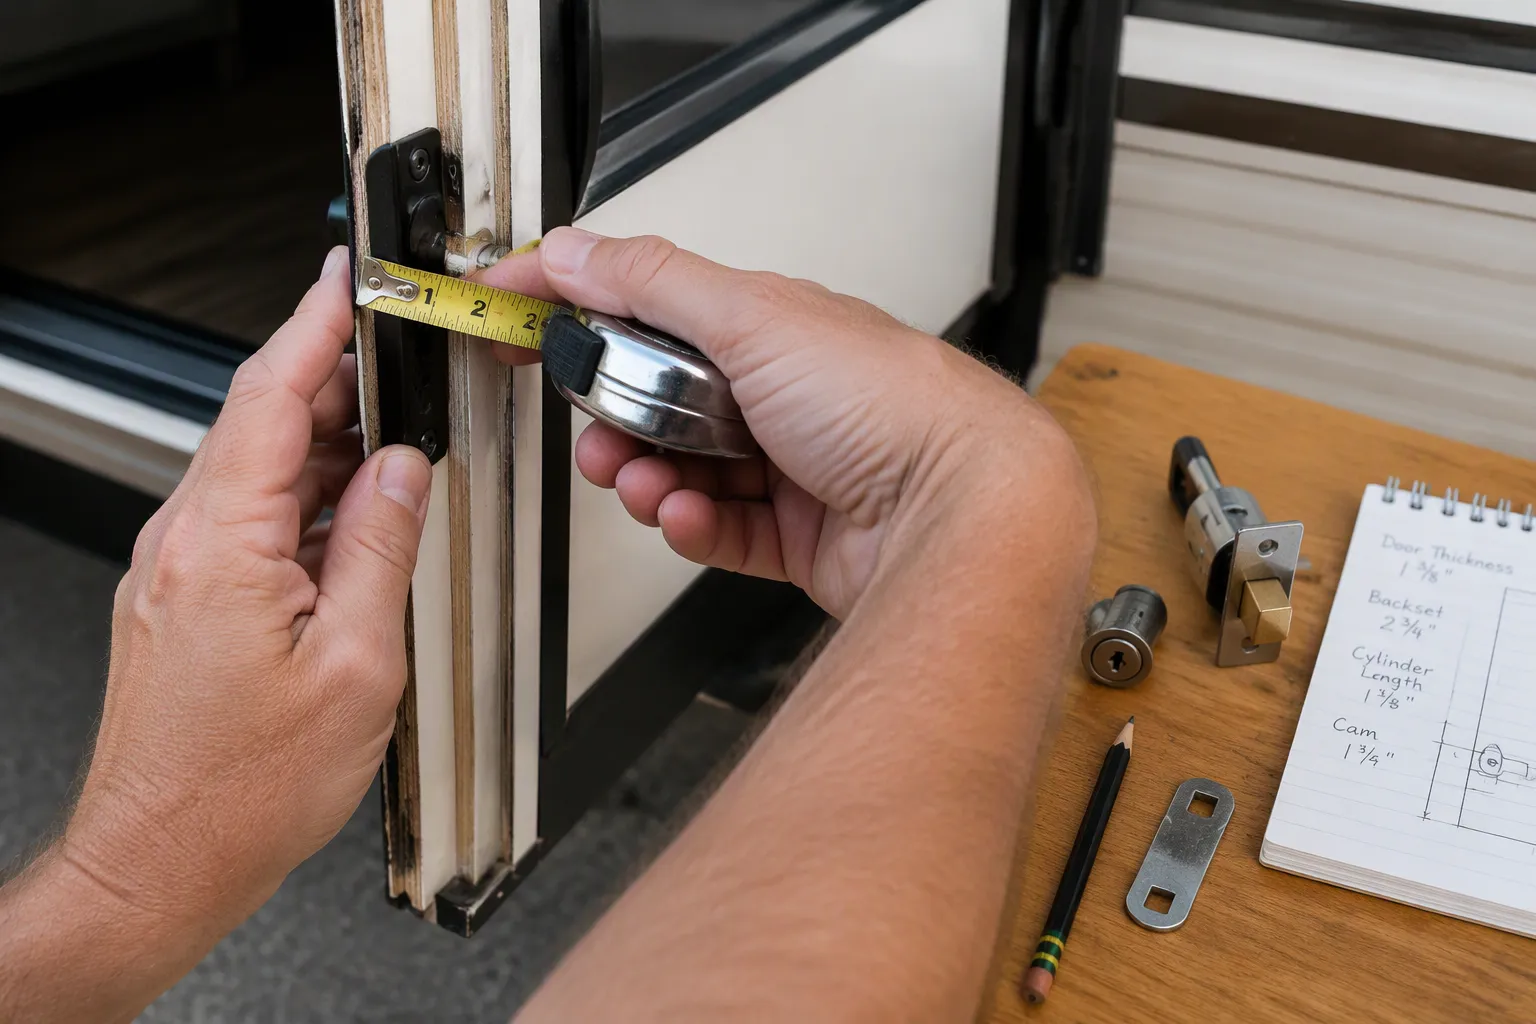
A few measurements turn a confusing purchase into a simple one. Grab a tape measure and a pencil. Write down each number. You will use these figures to match the right RV lock cylinder to your door.
Key Measurements for Your Door Lock
Start with door thickness. Measure the physical door directly. Include the outer skin, inner skin, internal reinforcement, trim, insulation, and any gasket. These layers together determine the correct fastener length. Do not trust a standard or advertised spec.
Next, measure the backset. This is the distance from the face of the door edge to the center of the latch mechanism. Backset decides whether the latch bolt reaches and fully engages the strike. Confirm both numbers against the product drawing for the lock you are evaluating. Backset and thickness values differ between manufacturers and even between models in the same product line.
Also verify latch projection. This is how far the latch bolt extends beyond the door edge when engaged. A wrong backset or projection causes the latch to miss the strike, demand excessive closing force, rattle during travel, or interfere with the frame.
Then measure the cutout. Standard RV entry door lock openings are about 3 3/4 inches tall and 2 3/4 inches wide. Larger, non-standard locks exist. The Bargman L300, for example, uses a 4 1/2 inch by 4 3/4 inch opening. Always measure the cutout on your actual door.
Lock / Opening Type | Cutout Height | Cutout Width |
|---|---|---|
Standard RV entry door lock opening | 3 3/4″ | 2 3/4″ |
Bargman L300 (larger, non-standard) | 4 1/2″ | 4 3/4″ |
Check the handle-to-window spacing too. One manufacturer instruction puts it plainly:
Verify that your door is 1.5″ thick and that you have a 1 7/8″ inch spacing between your existing handle and any window.
Finally, note the cam offset. The cam position determines how the cylinder engages the latch.
Match the Replacement to Your Lock Model
A “standard key” does not mean universal fit. Lock cylinders must match the exact lock model. Backset and thickness values differ between manufacturers and even between models in the same product line, so check the model number on the lock body or the original paperwork.
Storage compartment locks need extra attention because their door thickness can differ. Measure the door first, then confirm the replacement fits the existing cutout and matches the product drawing.
If a new cylinder does not fit, do not force it. Forcing it can damage the cam or housing. Instead, compare the old and new dimensions side by side. Order the correct size.
Photograph the old unit front and back before removal. These photos resolve fitment questions later. They also help a locksmith or the lock manufacturer identify the exact part you need.
Replace the Cylinder in a Few Simple Steps
You have the measurements and the right part. Now comes the hands-on work. Take your time here. A patient approach prevents damage and gives you a lock that works smoothly for years.
Remove the Old Cylinder Safely
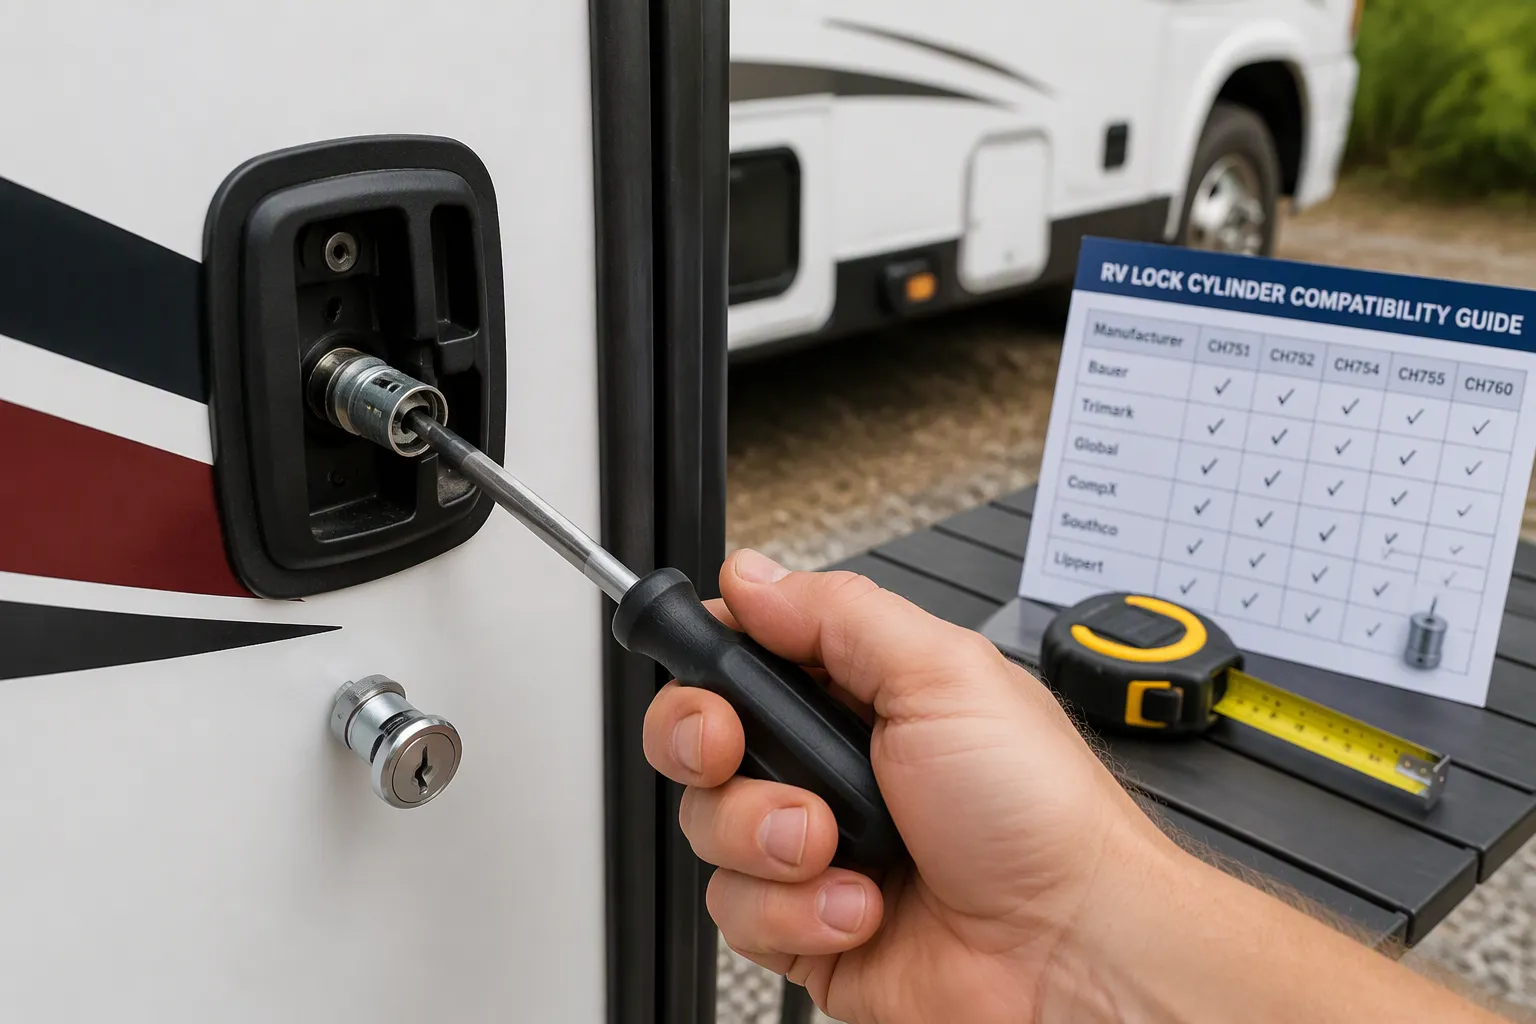
Gather your tools first. You need a Phillips screwdriver that fits the screw heads properly. Using the correct screwdriver type helps avoid damaging the lock or door hardware. You also need the keys that came with your new cylinder.
Open the door and locate the interior trim or retaining screws. Remove these screws carefully and set them aside in a small cup. Pull the interior trim panel away from the door. The old cylinder and cam now sit exposed. Slide the cylinder out of the lock body. Keep the cam attached for now. Take photos of how everything fits together. These pictures guide you during reassembly.
Compare the old and new dimensions side by side. Check the door thickness, backset, and cam offset. If the new RV lock cylinder matches, you are ready to install.
Install and Test the New Cylinder
Follow this sequence for a clean installation:
Attach the cam to the back of the new cylinder with its screw. Position it so it swings behind the frame to secure the door.
Choose the right cam type. Use an offset cam when the strike plate sits above or below the cylinder centerline. Use a straight cam when the latch bar aligns directly with the centerline.
Align the arrow on the lock toward the cam bolt you want to connect. The U-shape must slide correctly over the bolt.
Tighten the cam screw firmly once aligned.
Insert the cylinder into the lock body and reattach the interior trim.
Test the mechanism before you close the door. Turn the key several times and watch the cam rotate through its full range. The cam should move smoothly without binding. Open and close the door to confirm the cam engages the frame securely. Patience matters more than force here. A cam that binds means the offset is wrong, not that the part is defective.
Choose a Durable Replacement from kinntoo
A cheap or wrong replacement can fit at first. Then it fails from road vibration, temperature swings, and weather. RV doors bend, seals squeeze, and water finds every gap. An OEM-grade cylinder stands up to those forces. That means matching the exact lock model, not relying on a generic size.
Why OEM-Grade RV Locks Matter
OEM-grade parts are designed to match your lock model, with the right cam offset and a fit for your measured door thickness. Kinntoo is an ISO 9001-certified manufacturer. That certification and its batch-level checks give steady quality, not random luck.
Each production batch gets a documented inspection. Batch reports cover tensile strength, cycle life, and salt spray results. Raw materials can be traced through production. The company also has IATF16949 certification, so its quality management follows world standards from the raw material to the finished product. When you buy a replacement RV lock cylinder, these checks matter. They decide if the part lasts one season or ten.
kinntoo RV Locks Built for Road Conditions
Kinntoo builds locks for road conditions and documents that durability. Durability is validated by 100,000+ cycle life tests, and corrosion resistance is validated by 96-hour salt spray results. These results are recorded in the batch inspection reports, along with tensile strength checks and material traceability. Locks are built with corrosion-resistant materials to handle vibration and weather.
Kinntoo’s documented quality management follows international standards from raw materials through finished product, so the replacement is consistent trip after trip. Kinntoo’s product and certification information is available at kinntoorvlock.com. Measure your door and set the cam right, and a kinntoo cylinder installs cleanly and keeps working trip after trip.
When the key sticks or the housing feels loose, replace the RV lock cylinder. Also replace it if you cannot keep track of every key. These signs mean worn parts or a security risk you should fix.
Before you order, check four fit details:
Door thickness, measured directly on the physical door
Cutout size, commonly a 3 3/4 by 2 3/4 opening
Cam offset and backset
Lock model compatibility
Picking a quality replacement like kinntoo prevents future problems. If these measurements seem confusing, ask a locksmith or contact the lock maker for exact specs. That gives you the right part and peace of mind.
FAQ
What are the first signs my RV lock cylinder is failing?
You notice the key sticks or drags when you turn it. The cylinder feels loose in the door. Visible rust or corrosion appears on the finish. These signs mean worn pins or weather damage. Replace the cylinder before you break a key inside the lock.
Which measurements do I need before ordering a replacement?
Measure door thickness, backset, cutout size, and cam offset. Also check latch projection and the handle-to-window spacing. Write each number down. Compare the numbers against the replacement specifications. Do not guess based on the lock brand alone.
Does a standard key cylinder fit every RV lock?
No. “Standard key” does not mean universal fit. Backset and thickness values differ between manufacturers and even between models in the same product line. Check your lock model number. Match the cylinder to that exact model. For compartment doors, measure the door thickness and confirm the fit against the product drawing.
Can I replace the cylinder myself?
Yes. Remove the interior trim. Slide out the old cylinder. Compare its dimensions with the new one. Attach the cam, then insert the cylinder. Reattach the trim. Test the lock with the door open first. Patience matters more than force.
Why choose an OEM-grade replacement like kinntoo?
Cheap replacements fail under road vibration and weather. kinntoo is an ISO 9001-certified manufacturer, and documented batch tests include 100,000+ cycle life and 96-hour salt spray results. OEM-grade parts are matched to the exact lock model. They keep working trip after trip.