
Introduction
If you buy RV grab handles for a distribution channel, you’ve seen the same failure pattern repeat: the handle fits the catalog photo, but it doesn’t fit the wall, doesn’t seal, or doesn’t survive real-world loading. The result is predictable—rework at the installer, returns at the counter, and warranty friction.
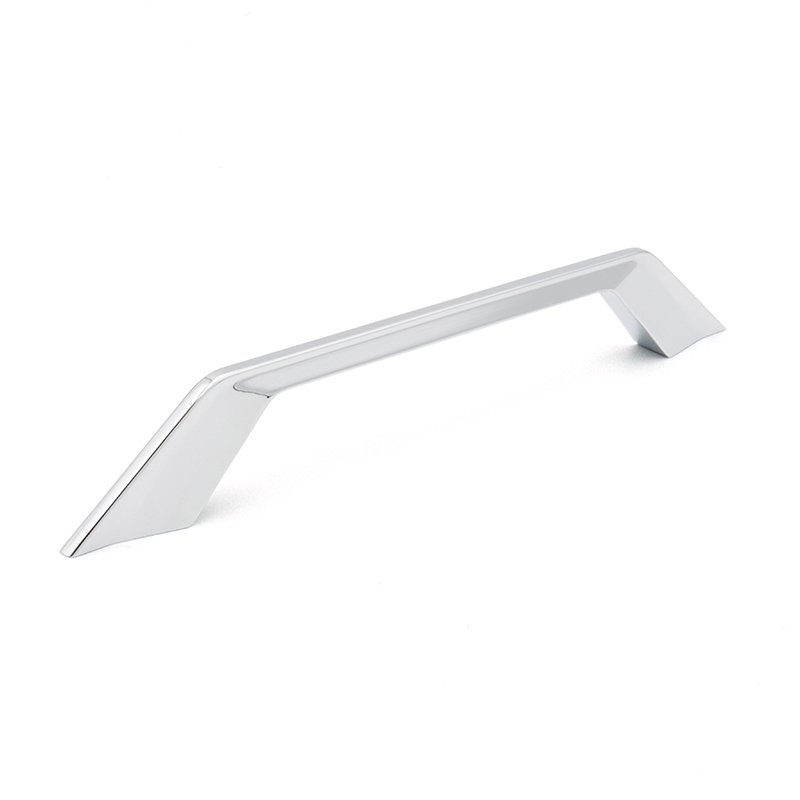
An RV grab handle is a simple part with an unforgiving job: provide a reliable handhold for entry/exit so users don’t slip on steps or lose balance. The common types are fixed (always protruding) and folding (pivots flat to reduce snagging), plus smaller “assist” and screen-door bars.
Australia adds two stressors that are easy to underweight in a spec sheet: UV exposure that accelerates finish degradation, and coastal chloride that drives staining and corrosion. If you stock for AU, you need to think in terms of material grade, finish integrity, and mixed-metal corrosion—not just “stainless” vs “black.”
What you’ll take away from this guide is a procurement-ready way to select the right handle type, size, and mounting approach—and the pitfalls to catch before your first sample order becomes a returns problem.
RV grab handle types and key specs
Key Takeaway: Treat this like a procurement fitment part, not decor—material grade, hole spacing, and mounting method drive returns.
Types: fixed vs folding
Fixed grab handles are the simplest mechanically and usually the stiffest. They’re the right default when:
the handle can safely protrude without snagging on covers or annex walls
the user needs a consistent hand position (e.g., tall step height)
you want fewer moving parts exposed to grit and salt
Folding grab handles reduce protrusion and can improve walk-by clearance. They’re often chosen when:
the entry is tight (caravan parks, storage covers)
the customer wants a “flush” look
door swing, awning hardware, or decals would be interfered with by a fixed bar
Procurement note: folding handles add joints, pins, and detents—so you’re buying both a handle and a hinge mechanism. That’s not bad, but it changes what you must inspect (play, pivot corrosion, detent strength). This also affects how you write the spec—include a hinge corrosion expectation for a folding RV grab handle.
Materials and finishes (AU)
Start with a blunt rule: “stainless” is not a grade.
For coastal AU stock, prioritize materials and finishes that tolerate chlorides and sun:
316 stainless steel is commonly specified as “marine grade” for chloride resistance. Australian hardware suppliers often recommend 316 over 304 for coastal applications, because 304 is more prone to staining/pitting in salt exposure (see Lemaar’s AU overview of marine grade 316 stainless steel door hardware for coastal homes and Steel Renew’s discussion of stainless steel corrosion in coastal areas). In RFQs, call this out explicitly as 316 stainless RV exterior hardware to avoid “stainless substitution.”
Powder-coated metals (including aluminium or steel) can work well, but coating damage is the weak link: once chipped, corrosion can start at the defect.
Anodized aluminium can be a strong choice for weight and corrosion resistance, but it introduces a key systems issue: galvanic corrosion risk if fasteners and brackets aren’t material-matched or electrically isolated.
⚠️ Warning: In salt exposure, mixed metals (e.g., stainless fasteners into aluminium without isolation) can accelerate corrosion around the fastener points—the exact place you can’t afford loosening.
If you stock “black” hardware, ask how the black is achieved (powder coat, e-coat, anodize, PVD) and what salt-spray testing supports it.
Dimensions and hole spacing
Most fitment issues are dimensional, not cosmetic. Before you order, lock down:
Overall length and grip clearance: ensure enough finger clearance from the wall and away from door trim.
Standoff height: affects knuckle clearance and leverage.
Mounting base footprint: bigger bases can hide old holes; smaller bases may expose damage.
Hole spacing (center-to-center): the number that decides whether “direct replacement” is real. For mixed fleets, treat this as caravan grab handle hole spacing management (documented per model/door variant).
For distributor RFQs, require a drawing that states:
hole center-to-center spacing (both vertical and horizontal if applicable)
hole diameter tolerance
base plate dimensions
recommended wall thickness range (or fastener stack-up)
This prevents a common trap: two handles that look identical in photos but differ by a few millimeters in spacing—enough to force slotting holes or misaligning sealant.
Mounting methods and hardware
Substrate check: stud or backing
A grab handle is a structural attachment, not trim.
The cleanest load path is fastening into a stud or backing (wood or aluminium framing), and the most robust method is often through-bolting with an interior backing plate that spreads load over a larger area. In other words: default to through-bolted grab handle mounting unless the wall structure is proven and the load is low.
If you’re replacing an entry handle, use installation guidance like Keystone RV’s How to Replace RV Entry Door Grab Handles: Step-by-Step Guide as a reference point for what installers actually do and what can go wrong.
Procurement pre-checks that reduce failures:
ask whether the handle is intended for stud mounting, through-bolting, or toggle/anchor mounting
require minimum backing plate size/thickness recommendations (or provide your own standard)
Fasteners and pilot holes
Fasteners are where many “good” handles fail in the field.
Through-bolts (bolt + nut) generally provide a more predictable retention than short screws into thin skins.
Washers under both head and nut reduce point loading.
Pilot hole sizing matters: too small can split wood backing; too large reduces bite and can initiate movement.
When drilling or re-drilling, installers often stress about wall layers and water ingress. Community discussions like Wander the West’s thread on drilling through and mounting to a rear wall are useful because they expose the real mistakes: rushing hole placement, skipping a compression gasket, and over-tightening.
For channel purchasing, require the supplier to state:
fastener type (A2/A4 stainless, plated steel, etc.)
thread-locking recommendation (if any)
torque guidance or “tighten to compress gasket; do not crush wall” wording
Sealing and corrosion match
Every fastener hole is also a water path. The sealing objective is simple: create a durable gasket under the base and seal penetrations without trapping water where it can accelerate corrosion.
Best-practice installs commonly use a primary gasket layer (often butyl tape) under the base and around penetrations, then add a compatible exterior sealant bead as a secondary barrier when appropriate.
Corrosion match is the second half of sealing:
match fastener and bracket materials where feasible
if mixing metals (e.g., stainless fasteners into aluminium), isolate dissimilar contact with sleeves/washers or coatings
do not ignore “small” parts like washers—these are often the first corrosion points
Fitment pitfalls and pre-checks
Hole pattern mismatches
This is the #1 returns generator for “replacement” handles.
Pre-check routine:
measure existing hole center-to-center spacing on the RV (do not estimate from the old handle)
compare to supplier drawing
confirm whether the new base will cover old holes if spacing differs
If the supplier can’t provide a dimensioned drawing, treat the part as non-repeatable and price the risk accordingly.
Stud position and interference
Even with correct spacing, you can still fail the install if a hole lands on:
the edge of a stud (splitting risk)
wiring runs
door frame reinforcements
interior cabinetry or trim that blocks a backing plate
For distributor sampling, require a simple “installation envelope” note:
minimum interior clearance required for backing plate + nut
recommended mounting zone relative to door frame (a small diagram is enough)
If you’re sourcing from an OEM handle program (not just catalog parts), a supplier who already manufactures adjacent RV hardware can often provide better installation notes. For example, Kinntoo’s RV Handles Manufacturer page is a relevant reference for handle categories and OEM context—and its fitment mindset is consistent with the checks in the RV Paddle Deadbolt: Benefits, Fitment, and QC Guide.
Fastener length and compliance
Fastener length errors create two ugly outcomes: interior damage (too long) or pull-out/loosening (too short).
Pre-check what you can actually control:
wall thickness range (outer skin + core + inner panel)
fastener grip length and thread engagement
whether a locknut is specified
Also consider compliance: in some channel environments, you’ll be asked for environmental/material documentation and test evidence. Don’t wait until after a quality complaint—use a repeatable RFQ pack like the one described in Tips for Avoiding Non-Conforming RV Door Locks When Sourcing and apply the same discipline to grab handles.
Conclusion
Material choice, sizing, and mounting method are inseparable. A “good-looking” handle fails if the hole spacing doesn’t match, the wall has no backing, or dissimilar metals corrode at the fasteners.
Use a simple pre-check routine before you commit to volume:
verify hole spacing with a drawing, not a photo
confirm substrate plan (stud vs through-bolt + backing plate)
standardize fasteners and sealant stack-up for your install base
A compact checklist you can reuse:
Measure existing hole spacing (center-to-center)
Confirm base footprint covers old holes (if replacing)
Verify interior clearance for backing plate + nut
Select 316 stainless (or proven equivalent) for coastal AU exposure
Match metals or isolate dissimilar metals at fasteners
Pre-drill correctly; avoid crushing the wall when tightening
Seal penetrations with a gasket layer and compatible exterior sealant
Documentation to request in every RFQ:
RoHS / REACH declarations
salt-spray test results with hours and acceptance criteria
warranty terms (scope, exclusions, claims process)
Kinntoo RV lock note (non-promotional): Kinntoo RV Locks typically shares RoHS/REACH and salt-spray info on request—use the same documentation discipline for grab handles.
