
Introduction
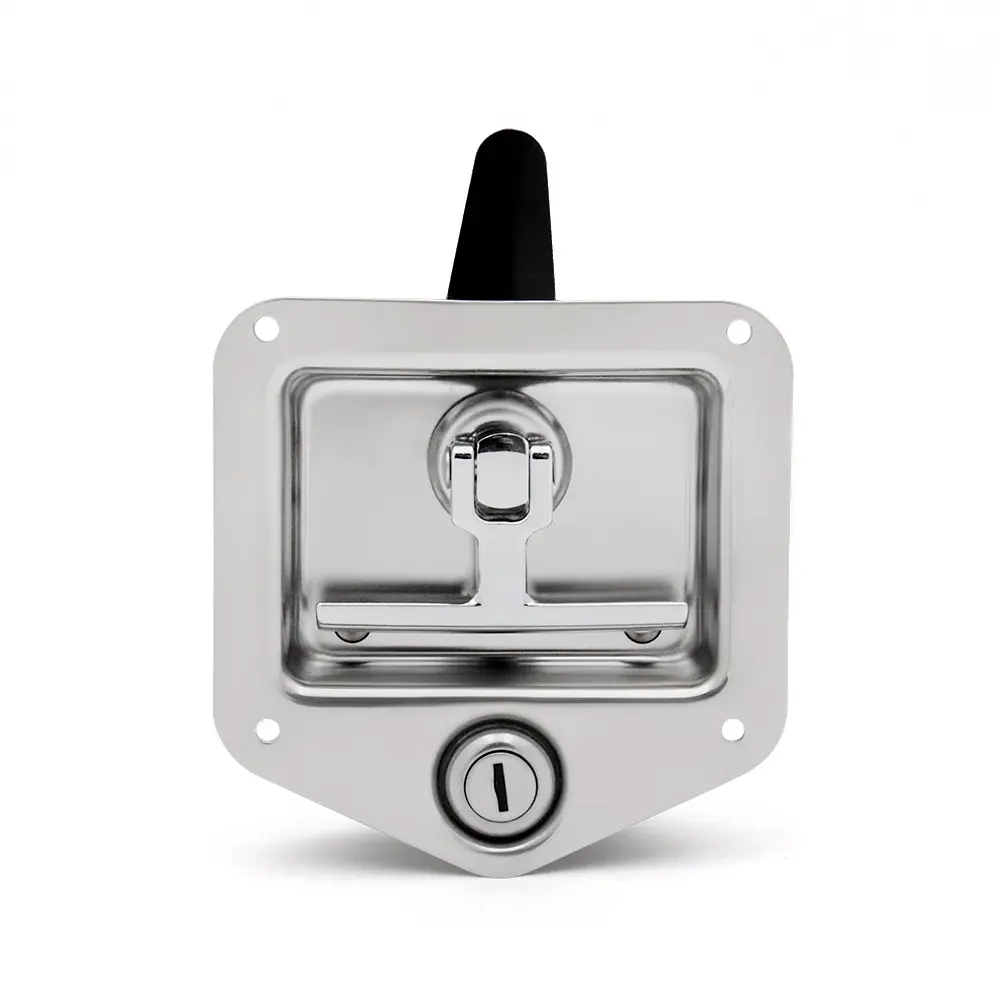
An RV paddle deadbolt is an entry-door lockset that combines a paddle-style handle (for the spring latch) with a separate deadbolt that throws into the strike plate. A standard paddle latch often secures the door with the latch only—or uses a lightweight secondary lock that doesn’t meaningfully increase resistance to prying. That difference matters when you’re trying to reduce theft risk, reduce lock-related warranty returns, and keep door alignment issues from turning into repeat service calls.
This guide is written for the people who end up owning the consequences of a bad fit:
- Distributors and channel procurement teams managing long-tail SKUs and substitutions.
- Repair shops that need fewer comebacks and predictable installs.
- Advanced DIY owners who measure, verify, and install correctly.
What we’ll cover:
- What a paddle deadbolt is (and what it isn’t).
- Where the real security and durability gains come from.
- The fitment checks that prevent mis-orders.
- Installation and QC checks that cut down warranty claims.
- A procurement and keying plan you can use in an RFQ.
What is a Paddle Deadbolt
Mechanism and components
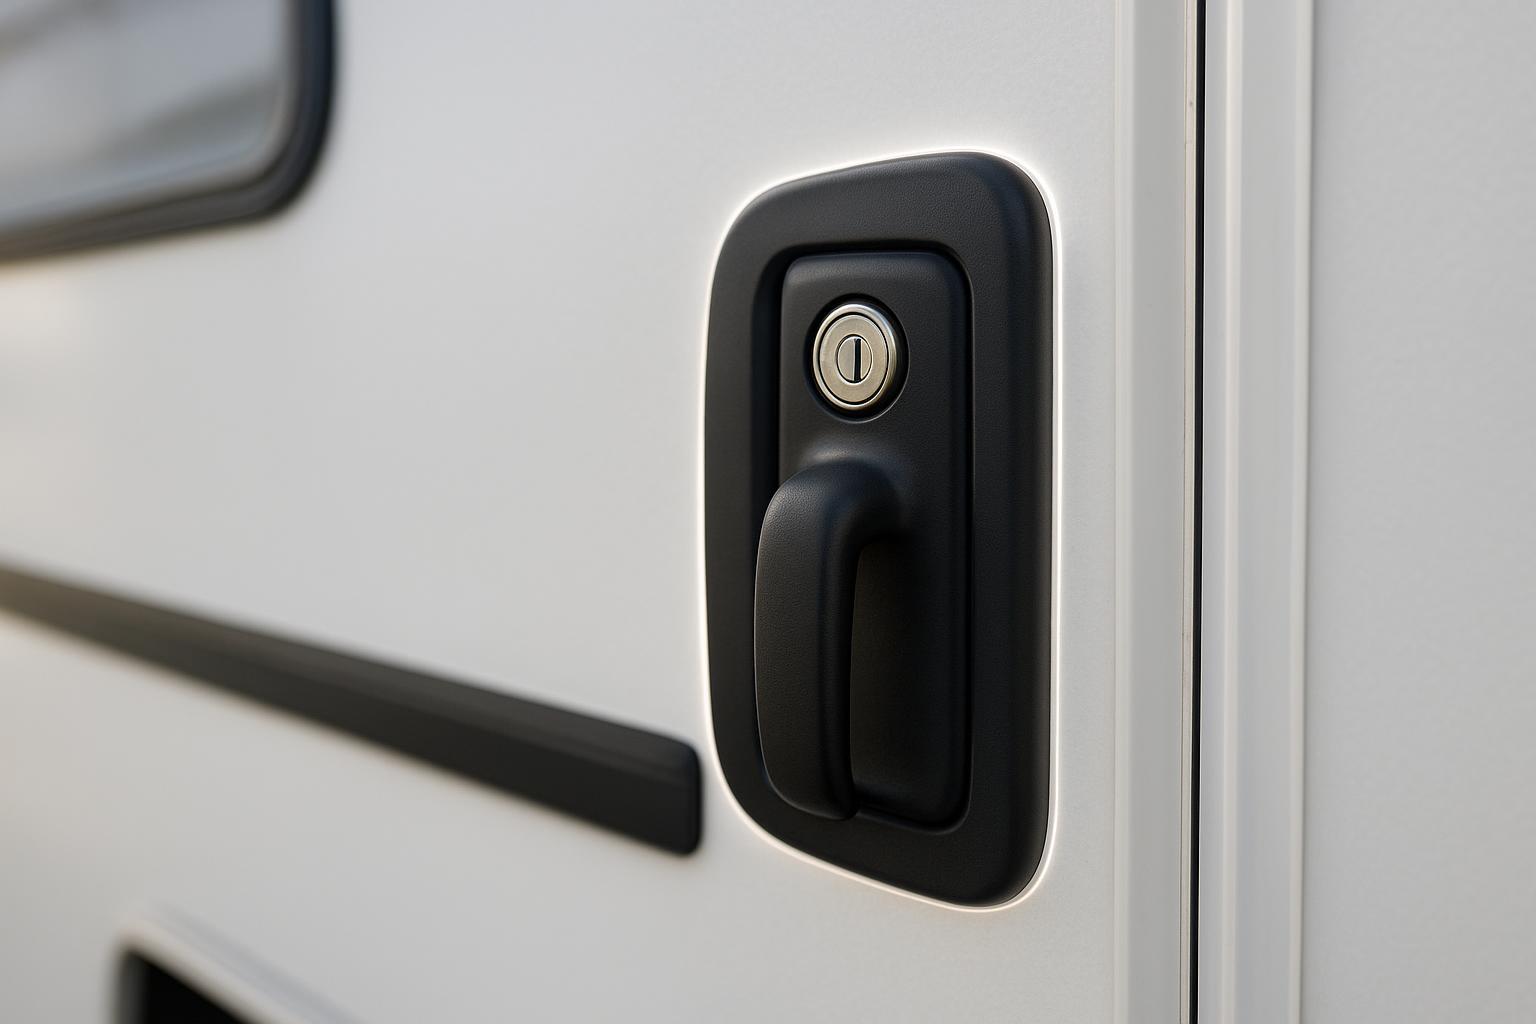
A typical RV paddle deadbolt assembly includes:
- Exterior paddle handle (the part you pull to open the door).
- Spring latch (engages when the door closes).
- Deadbolt (a separate bolt that extends into the strike plate).
- Interior handle/lever and deadbolt thumbturn.
- Strike plate(s) mounted to the door frame.
- Gasket(s) to seal the exterior housing to the door skin.
Mechanically, the key distinction is that the deadbolt is not relying on the spring latch alone. It’s designed to seat more positively in the strike opening when the door is pulled shut and aligned.
Paddle latch vs deadbolt
A paddle latch and a deadbolt do different jobs:
- Paddle latch (spring latch): convenience. It’s what makes the door “catch” when you close it.
- Deadbolt: security and stability. When thrown, it adds a second engagement point that is typically harder to “credit card,” shake loose, or pop during vibration.
Key Takeaway: In field failures, “lock problems” are often fitment and alignment problems. A deadbolt only helps if it can throw fully into the strike with correct door compression.
Typical materials and finishes
Most RV paddle deadbolt locksets are built around die-cast or machined metal housings with plated or coated finishes (common options include black, white, and chrome).
For buyers, what matters isn’t the color—it’s whether the supplier can specify:
- Base material (e.g., zinc alloy vs stainless components in critical areas)
- Finish type (paint, powder coat, plating)
- Corrosion protection approach (sealing, drainage paths, fastener materials)
If the supplier can’t describe these clearly, treat that as a documentation risk—even if the lock “looks” fine.
Security and Durability Gains
Forced-entry resistance
A deadbolt generally improves resistance to casual forced entry because it adds a second, more positive engagement point at the frame. In practice, security gains are highest when:
- The strike plate is solidly mounted into the frame structure.
- The deadbolt extends fully into the strike opening.
- The door isn’t warped or misaligned.
Don’t oversell what any RV entry lock can do—door frames and skins vary widely—but a properly engaged deadbolt is still a meaningful upgrade over latch-only security.
Corrosion and weather sealing
Durability in RV locks is usually lost at two interfaces:
- Exterior lock housing ↔ door skin (water ingress, freeze/thaw, gasket compression set)
- Moving parts ↔ contamination (dust, road salt, humidity)
The practical win of a well-designed paddle deadbolt isn’t “rust-proof.” It’s that the assembly is more likely to keep water out and keep tolerances stable if:
- The gasket seats evenly.
- The finish resists chipping around high-touch areas.
- Fasteners don’t back out under vibration.
Maintenance for lifecycle
For channel and service teams, lifecycle cost comes down to repeatability:
- Periodic screw torque checks (travel vibration loosens hardware).
- Light lubrication where appropriate (avoid contaminating plastics/trim).
- Replace worn strike plates before they cause “hard closing” complaints.
Fitment and Compatibility (RV paddle deadbolt)
RV paddle deadbolt fitment: standard cutouts and thickness
Most RV paddle deadbolt locksets are designed around a common door cutout and thickness band. For example, one widely sold paddle deadbolt spec calls out a 2-3/4″ x 3-3/4″ cutout and 1-1/4″ to 1-1/2″ door thickness range in its published dimensions (see RecPro’s “RV Paddle Entry Door Lock Latch with Deadbolt”).
Procurement note: suppliers may describe the same category as an “rv paddle latch with deadbolt”. When you’re comparing listings, copy the exact fitment line items into your RFQ (for example: rv entry door lock cutout 2-3/4 x 3-3/4 and rv door lock fitment door thickness 1-1/4 to 1-1/2) so substitutions don’t silently change the spec.
However, procurement mistakes happen when buyers stop at “the rectangle matches.” Incompatibility is frequently caused by:
- Cylinder/deadbolt position relative to existing holes
- Door construction differences (foam core thickness and compression)
- Nearby window trim clearance
A common fit guide highlights window clearance as a real gate: some lock bodies require roughly 1-7/8″ spacing between the lock location and a window edge, and explicitly warn that cutout size alone doesn’t guarantee compatibility (RVLock’s Compact Fit Guide).
Cross-brand interchangeability
Many paddle deadbolt locksets are designed as replacements for common OEM families. You’ll often see “replaces X/Y brands” claims, but interchangeability is only safe when you validate:
- Cutout size and corner radii
- Door thickness and spindle length
- Backset/bolt position
- Strike plate geometry and mounting hole pattern
Some manufacturers also describe a tolerance range for compatible cutouts (rather than one fixed dimension). An example measurement discussion for an entry lock family cites a range from 2-1/2″ x 3-1/2″ to 3″ x 4″ for certain models (etrailer’s measurements guidance—see the 05-research-report source list). Treat “range compatible” as a reason to measure carefully, not as permission to ignore templates.
Keyless variants and spacing
Keyless and keypad variants typically keep the same overall cutout target but add constraints:
- Additional depth for electronics and wiring
- Potential interference with windows, screens, or trim rings
- Different screw-post spacing or interior module geometry
If you source both keyed and keyless variants, build a single fitment protocol and apply it to both. Don’t assume the keypad version is a drop-in substitute.
Installation and QC Checks
Tools and prep steps
A repeatable install process reduces both damage and “no trouble found” returns.
Recommended basics:
- Manual screwdrivers with correctly sized bits (avoid stripping)
- Tape measure or calipers
- Non-permanent marker for alignment checks
- A file (only if your SOP allows minor strike adjustments)
- A clean surface to stage parts so small linkages don’t get lost
Prep steps that save time:
- Photograph the original lock from both sides before removal.
- Confirm door handing (hinge side) from the exterior.
- Clean the door cutout and remove old gasket residue so the new gasket seats flat.
Alignment and sealing
Most “hard closing” or “won’t deadbolt” complaints trace back to alignment and compression, not a defective lock.
Key checks:
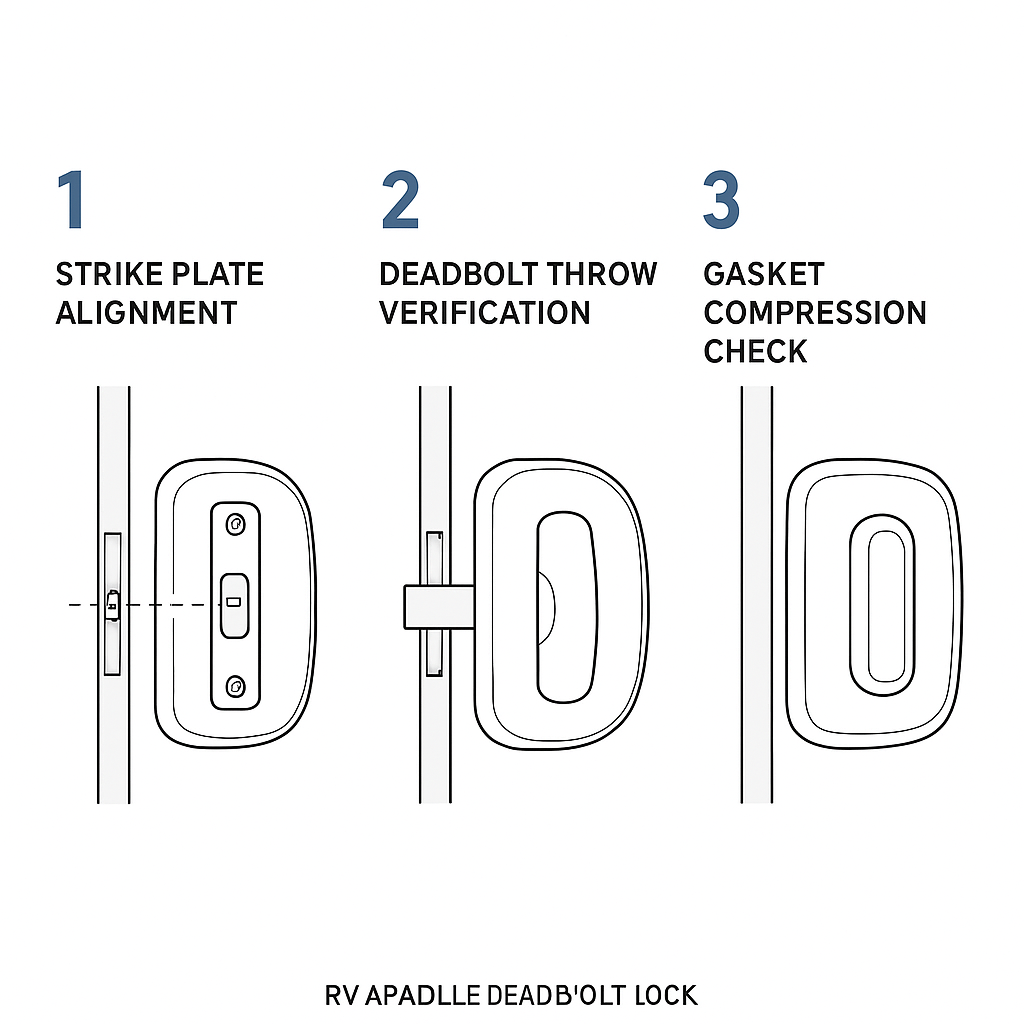
- The latch tongue and deadbolt should enter the strike opening without binding.
- The door should close with normal force—if it needs slamming, the strike/plate position is likely wrong.
- Gasket compression should be even; uneven compression often becomes water ingress or loosening over time.
Procurement note: if you’re standardizing install criteria across partners, add one line item for rv door lock strike plate alignment (acceptable latch/bolt centering and minimum deadbolt engagement) to your incoming inspection and install SOP.
Functional testing protocol
Use a simple test protocol before returning the unit to service or shipping it to a customer:
- Latch test (door open): operate the paddle and verify smooth latch retraction.
- Deadbolt throw (door open): extend/retract the deadbolt fully; confirm no sticking.
- Close-and-throw test (door closed): close the door normally, then throw the deadbolt. It should extend fully without forcing the key.
- Key operation: lock/unlock from outside multiple times; confirm consistent resistance.
- Shake/vibration simulation: with the door closed, apply moderate push/pull to ensure the latch and deadbolt remain seated.
⚠️ Warning: If the deadbolt only works when you lift/push the door in a certain direction, you don’t have a lock problem—you have an alignment problem. Fix the strike alignment before the unit becomes a repeat warranty claim.
Procurement and Keying Plan
RFQ specification checklist
A paddle deadbolt RFQ that prevents mis-orders should require the supplier to provide:
- Cutout requirement (W x H) and acceptable tolerance range
- Supported door thickness range and required spindle length
- Handing options (LH/RH) and how to identify them
- Lock body depth and any window clearance constraints
- Included components: interior/exterior assemblies, gasket, strike plate(s), fasteners
- Finish and base material description
- Packaging (single vs multi-pack) and whether keys match within a batch
- Documentation: installation template, exploded view, parts list
Keying strategy and CH751 avoidance
Procurement teams often inherit a mixed key ecosystem:
- Compartments frequently use CH751 keyed-alike locks.
- Entry doors may be different, but replacement ecosystems can still have limited key combinations.
If you need the “why” for stakeholders: CH751 is widely discussed as a shared/universal code for many RV compartment locks, which is why it’s treated as a security red flag in owner communities and service content.
A practical channel-friendly keying policy looks like this:
- Entry door deadbolt: prioritize keyed-different (KD) or controlled keying; avoid shared codes where possible.
- Within a single customer kit: consider keyed-alike (KA) to reduce end-user key clutter, but only if it does not revert to a widely shared code.
- Master key policy: if a master key exists for service, define who holds it, how it’s controlled, and how you’ll communicate that to dealers.
For additional context on how CH751 is commonly used on RV compartments and why replacement entry locks can still have limited key combinations, see RV LIFE’s discussion of RV door lock upgrades and keying realities.
Compliance, warranty, and lead times
For cross-border distribution, “fitment” isn’t only mechanical. It’s also documentation.
At minimum, confirm:
- Whether the supplier can provide RoHS/REACH declarations where required by your customers.
- Warranty terms in writing (what’s covered, what voids coverage, how DOA is handled).
- Lead time by finish and keying option (KD/KA/custom keying often changes lead time).
- Sampling plan: how many samples per variant, and what acceptance criteria will be used.
Conclusion
Upgrading to an RV paddle deadbolt can be a practical, low-complexity way to improve door security and reduce “nuisance failures” caused by weak latch-only setups—especially when you manage returns, field service, and SKU substitutions.
To keep the upgrade from becoming a warranty headache, treat fitment like an engineering check:
- Verify cutout dimensions, door thickness, and window clearance.
- Confirm spacing and bolt throw before you buy in volume.
- Require templates and documentation as part of the RFQ, not after the PO.
Next steps: build a short pilot program—2–3 door configurations, a defined install/QC checklist, and a keying policy you can defend. If you’re sourcing from suppliers such as kinntoo, ask for the dimensional drawing, fitment template, and a keying options sheet upfront so your first order doesn’t become a returns experiment.
